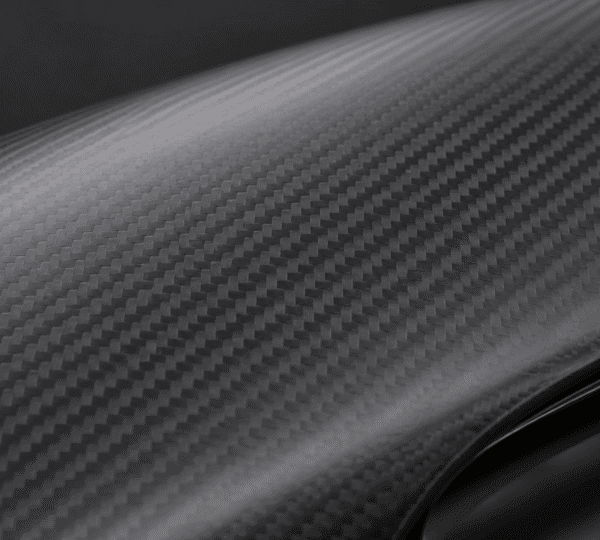
Weave direction
Mark the preferred direction on the sample where two pieces meet.


Match the original seat-side contour and switch openings on your G87 M2, G80 M3 or G82/G83 M4.
These molded covers follow the outer sides of the front seat bases. Each piece has an opening for the original adjustment controls. The gloss face carries a 3×3 twill pattern across the area around the switches.
For a workshop or stock order, compare the switch panel on each seat with the cutout shown in the product photos. The left and right covers form one pair. The switches and their wiring stay in the vehicle.
Specify the chassis and original adjustment panel when choosing trim for an M2, M3 or M4.
Align the opening with the switch bank before bonding the cover to its original surround.
Compare the gloss twill with adjacent trim when planning a coordinated cabin finish.
Mark the fitting positions on photos of the original interior. We can use the same marked views to identify the pieces on your quotation.
Use the original interior or an approved sample as the reference for the visible face.
Mark the preferred direction on the sample where two pieces meet.
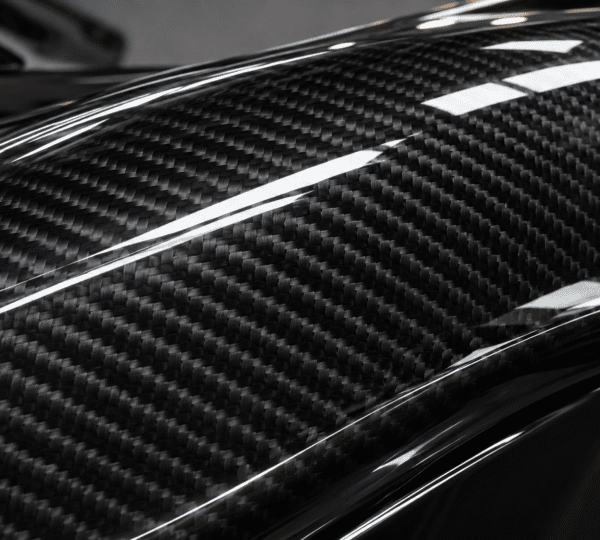
Compare the sample beside the surrounding trim in the cabin before approving the finish.
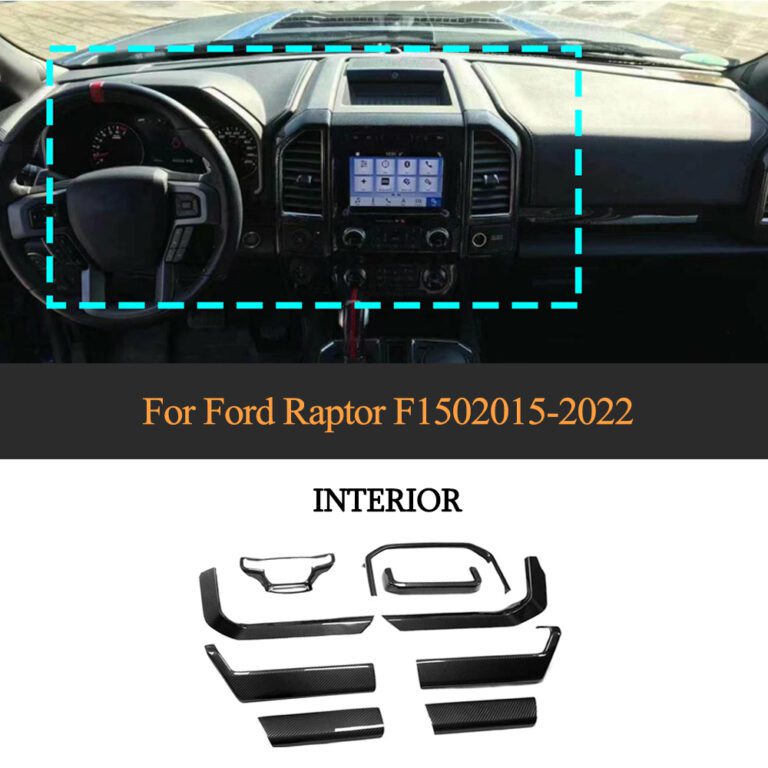
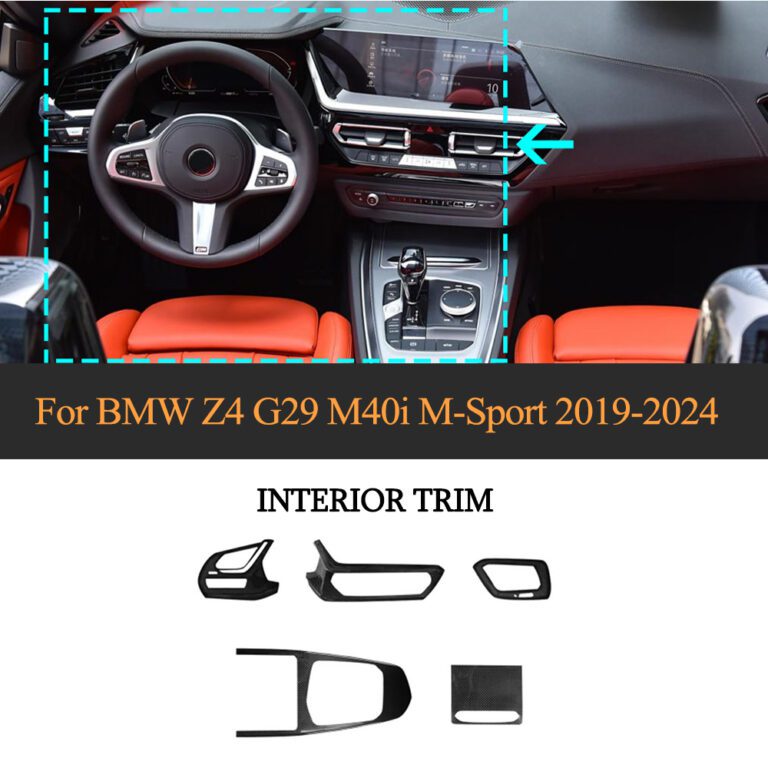
Show the screen surround, selector and switch openings. Include the steering side when the panel follows the dash or console layout.
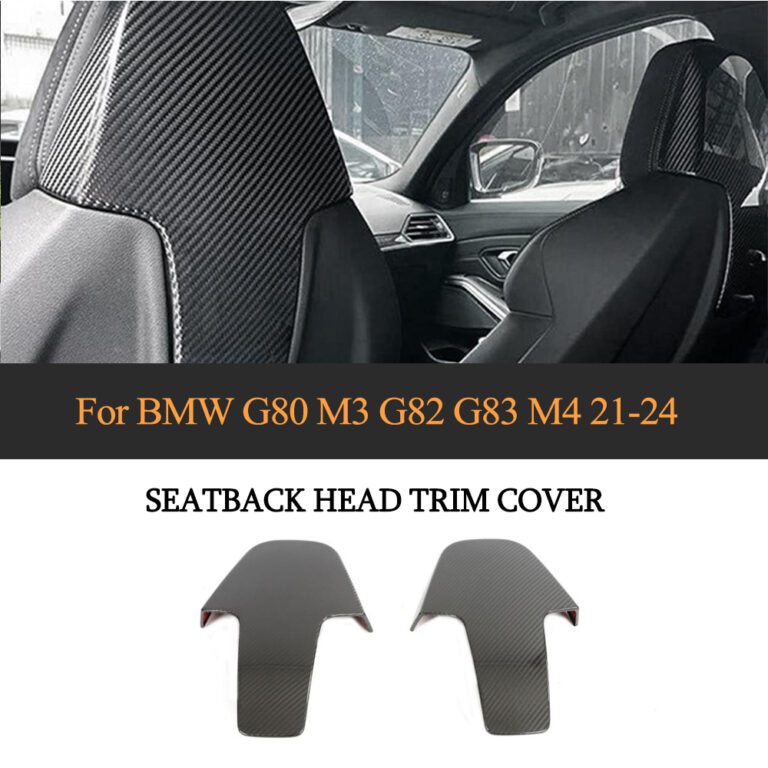
Identify the seat type and mark the seat back, headrest opening or side switch panel you want to trim.
Mark each opening or door on an overview photo, then add a close-up of its outline.
List the pieces by fitting position. For handed parts, specify the left and right pieces and the number of each.
Identify which visible surfaces need to match. For a repeat order, use the same panel reference and finish sample.
Use one fitting reference and one numbered list of pieces throughout the order.
Record the chassis, model year and the original panel or seat version.
Mark each required piece and its orientation on cabin photos.
Agree which pieces cover an existing panel and which, if applicable, replace one. Specify the visible material.
Compare outlines, openings and visible edges with the original panel and approve the finish.
Produce to the agreed sample and keep different panel layouts under separate order references.
Check handed pieces and opening positions, then count the packed parts against the order list.
Certified production quality system
Certified quality management
Self-owned manufacturing base
Parts or sets, combined capacity
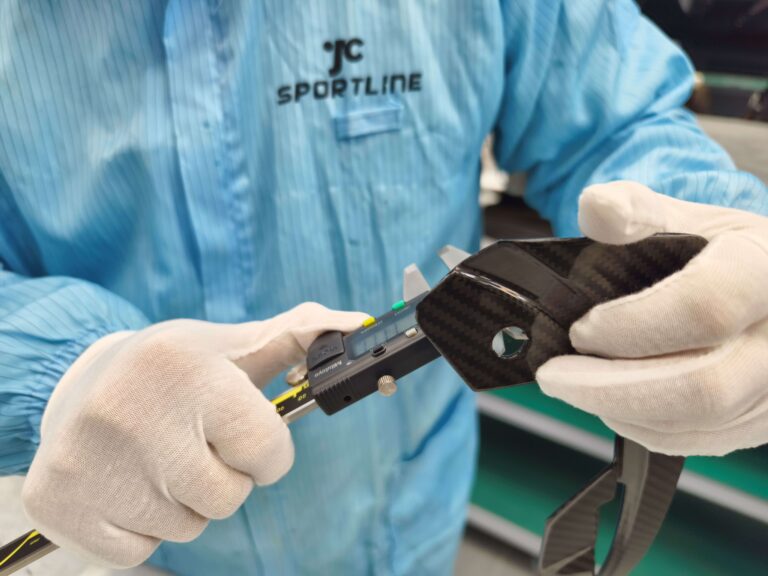
We check the visible weave and finish, compare openings and edges with the approved sample, and verify each packing position against the parts list.
Quality controlThe covers bond to the original surrounds. The controls stay in place and are accessed through the openings.
Send the chassis details and photos of both original switch panels for a separate fitment check before ordering.
The minimum for an existing design is 10 pieces. For a new design, we agree the minimum quantity for the project. The quotation identifies the pieces supplied with each kit.
Send the SKU, chassis code, model year and photos of the original fitting area. For dashboard and console parts, show the steering side and the screen and switch layout.
As a guide, projects that require design approval may take around 58 days from approval to delivery. Lead times may be shorter for existing products or when suitable tooling is available. We confirm the schedule in your quote.
Ask for an itemized packing list with each piece identified by its fitting position. If the parts are handed, the list should show the left and right quantities separately.
Include your chassis code, photos of both switch panels and the number of pairs you need.