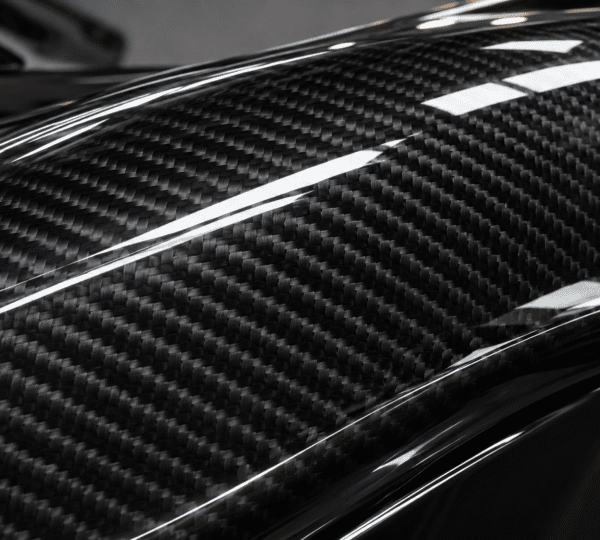
Gloss UV-protective clear coat
A reflective finish over the visible carbon weave.


Match the lower bumper edge and both corners on the Porsche Panamera 976 Standard Liftback.
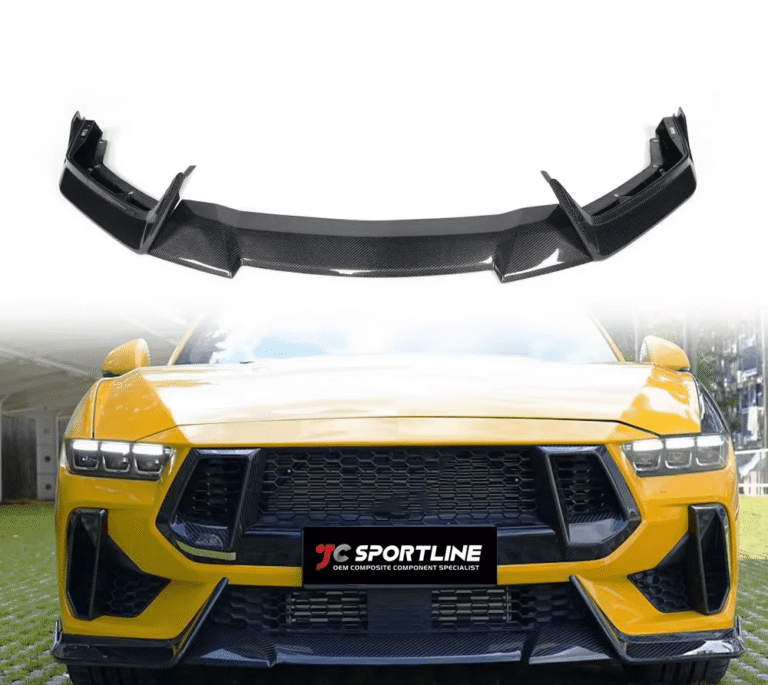
The Porsche Panamera 976 front lip runs beneath the central bumper opening and turns back around the outer corners. Its gloss carbon face follows the lower edge across the front of the Standard Liftback.
The bumper photograph shows where the straight central run meets the side returns. Compare the outer ends as well as the middle of the bumper, especially when the car already carries lower trim.
Carry the carbon finish beneath the central opening and around the bumper corners.
Use a straight-on view to compare the central span against the car’s lower edge.
Check the side returns against the lower trim already on the vehicle.
Develop a carbon fiber front lip, corner splitter or front bumper canard around your bumper profile, installation points and order requirements.
Choose the sheen of the UV-protective clear coat when confirming the finish for your order.
A reflective finish over the visible carbon weave.
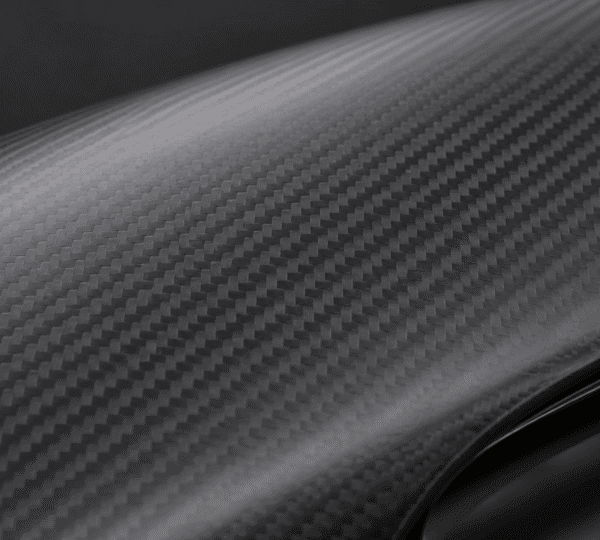
A low-sheen finish over the visible carbon weave.
Review whether the design calls for a continuous lip, a segmented front lip or separate parts at the bumper corners.
Confirm the contact surfaces and attachment points. For parts below the bumper, review the forward projection and ground clearance with the vehicle at its intended ride height.
Discuss product identification for the range and packaging that protects long sections, corners and finished edges.
We review the part geometry, mounting requirements and production volume before selecting a layup and tooling route.
We check bumper shape, mounting points and clearance as part of front lip design.
Confirm the vehicle year, trim and bumper version using photos, drawings, scan data or an original part.
Review the part profile, the contact surfaces and any specified mounting points. Check clearance for parts that extend below the bumper.
Agree on the material, finish and production process. Confirm whether the project uses existing tooling or needs a new mold.
Check the bumper contour, edge alignment and attachment positions. Review left and right alignment for corner parts and section joints for multi-piece designs.
Follow the approved part geometry, mounting configuration and surface finish during batch production.
Check the finished parts against the order requirements and protect long edges, corners and mounting areas for transport.
Company quality management certification
Company quality management certification
Self-owned manufacturing base
Parts or sets, combined capacity
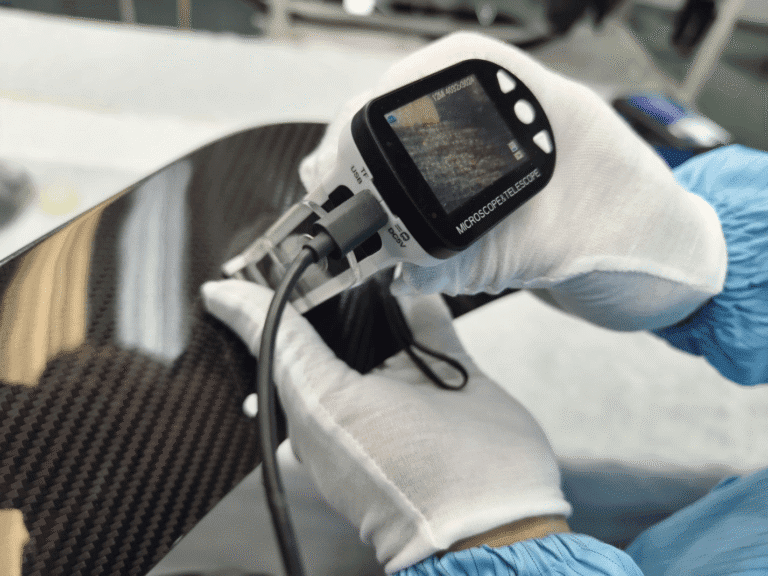
We check the part profile, finished edges, clear coat and specified mounting areas. On paired or segmented designs, we check the alignment of the corresponding sections. Packaging protects edges, corners and attachment points in transit.
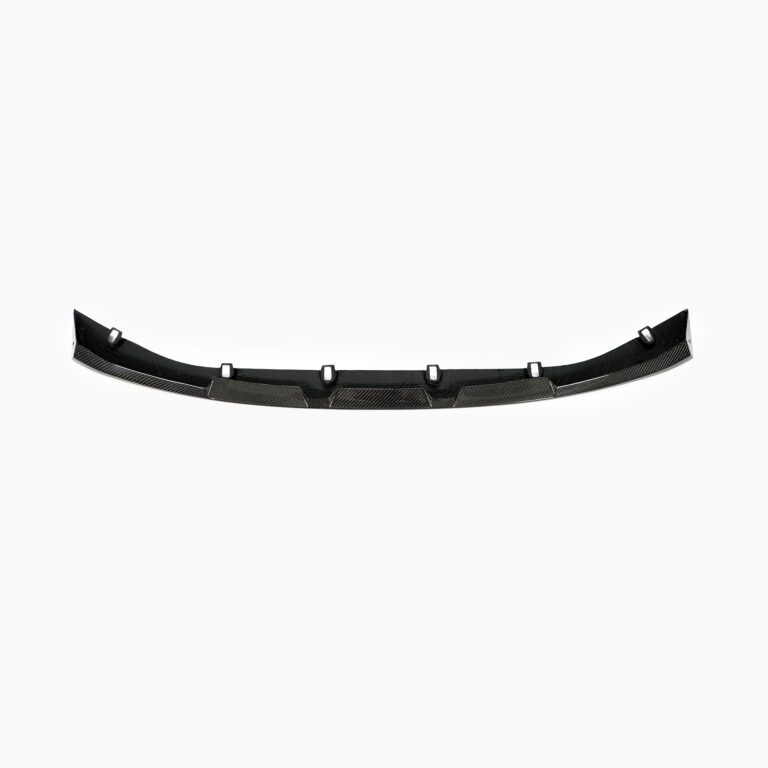
Quality controlThe lip turns back at each end of the front bumper. The angled product views show the side returns; use both corners of the original bumper as reference points.
It shows the lip against the lower edge of a detached front bumper. Use the centre opening and the outer corners to compare its outline with yours.
The minimum order is 10 pieces for existing models. Minimum quantities for a new development are agreed for each project.
Send the vehicle model, year and trim, the bumper version, photos of the mounting area, the quantity and the finish. For a new design, include drawings, 3D data or an original part if available.
Lead time for an existing model is confirmed with the quote. For new development or a change to the manufacturing process, delivery is 58 days from design approval.
Confirm the bumper version and the attachment points for the selected part. For parts that extend below the bumper, also check the available clearance at the intended ride height.
Send a front view and an underside photo of your bumper with the number of lips required.